


First get a frame. My Grandma had this collage frame and didn't want it, so I said I'd take it!

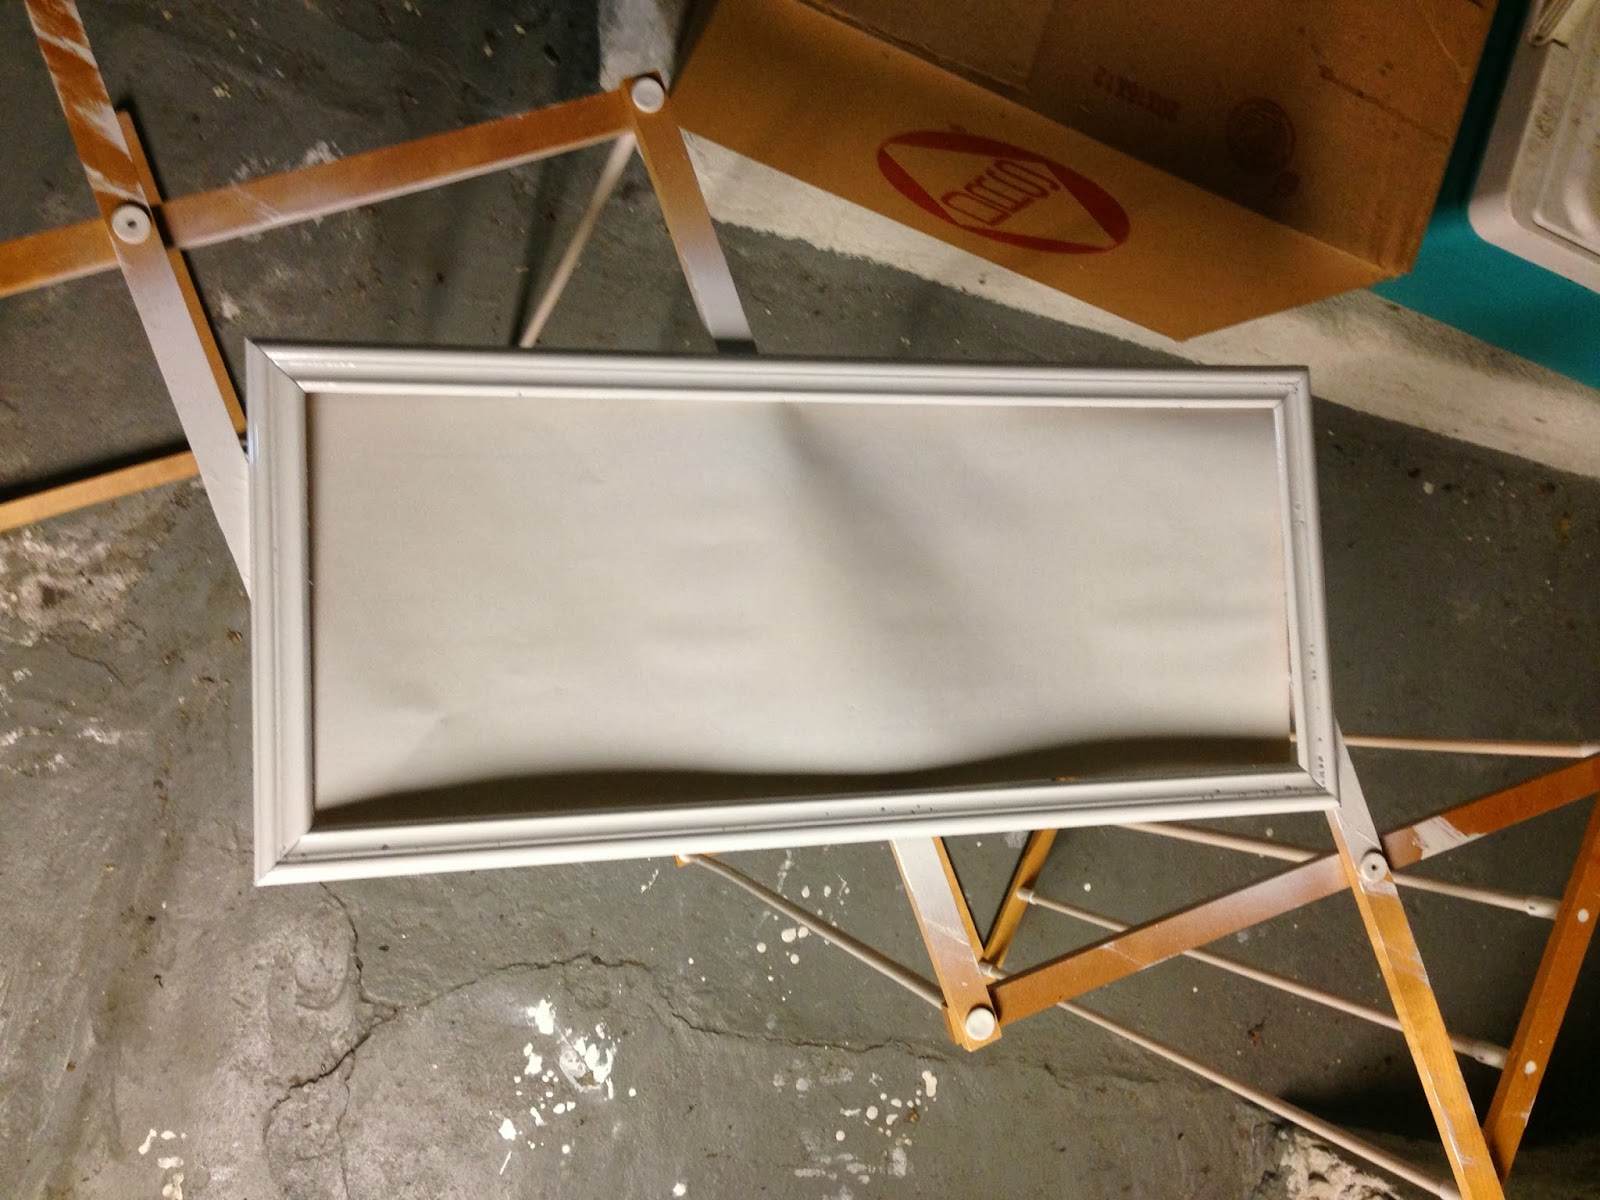
De-assemble your frame so you have the back, the glass, and the frame separate. This is when you would paint the frame anyway you like. I just did a few quick coats of white spray paint, but if you like the color of your frame, save yourself a step and leave it.

Make sure your glue gun is heating up, or you have some other adhesive for the ribbon.

Cut your fabric to size, leaving enough overlap to wrap around the glass part. Do you know the trick to cut burlap without a thousand little pieces fraying all over the place? In case you don't, you figure out where you need to cut, and you pull out that string. It'll make a wider gap like this:


|
| (See that wider weave?) |
Then cut in that wider section, and you won't have it all falling apart on you.

Now place the frame front side down and lay strips of ribbon going across in the direction you want it to. I wanted my frame to be vertical, so my ribbon went across the smaller width.

Now add your fabric, centering it the way you would want it to be seen from the other side.

Then put back the glass and back into the frame. Depending on how thick your ribbon and fabric are, you might need to press a little bit. Be careful not to break the glass!


For my frame, it had those little metal tab things to close the back, so do whatever your frame makes you do to reattach it.. as if you added a picture instead of fabric.
Flip your frame over to see it from the front and make any adjustments you might need to the ribbons or fabric. You don't want it all crooked when you're done.

I noticed I had my ribbon too tight, so I just put my finger under and lightly tugged til it was the tautness I wanted.
When everything was where I needed it to be, I flipped it back around and decided to hot-glue the ribbon to the frame itself. I figured, since I picked a simple white ribbon, I was more likely to change the fabric out than the ribbon, so I wanted that to be permanent but still access the burlap.


I used an old measuring spoon to press the ribbon down so I wouldn't burn my fingers, but you can use whatever you want.
Then trim up the back so it looks neat from the front. I don't really care what the back looks like, I figured no one's seeing it, so I just did a rough trim so it wouldn't peak out from the the sides.


Then look at it and use it! I didn't have any sunglasses upstairs, so I just hung our regular glasses on it to see how it looks until I can get it hung by the front door.


All together I spent about $3.50 on supplies. The frame, glue gun, glue, and scissors were on hand. I used leftover paint from another project. 43 cents on ribbon and $3 on burlap... both with enough leftover for another project that I'm working on tonight. Not too bad. I'm pleased with it, and it'll definitely look better then the pile up of sunglasses we have happening right now.
No comments:
Post a Comment